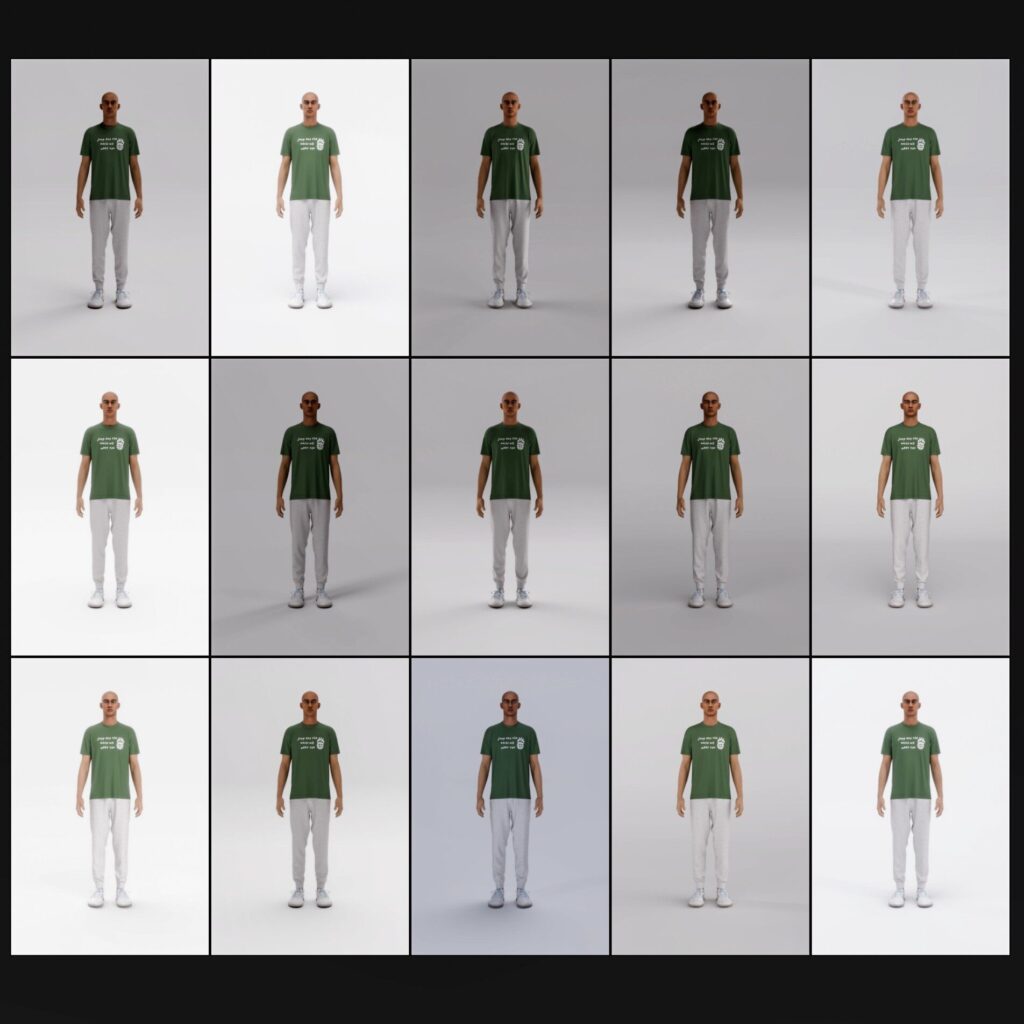
A solid lighting setup makes colours pop and leads the eye to the product.
A simple light system that elevates colour accuracy, depth, and realism—all in one shot.
It speeds up decision-making.
– Most 3D apparel designers struggle with washed-out or overly shadowed renders.
– Fine—if you’re going for a stylized, edgy photo shoot.
– But for true-to-life apparel visualization? That won’t cut it.
– They think default lighting setups work fine. They’re wrong.
– I used to think the same—until I spoke with professional fashion photographers.
– Now, I’m diving deep into lighting setups. Game changer.
𝗧𝘄𝗼 𝗠𝗼𝘃𝗲𝘀 𝗧𝗵𝗮𝘁 𝗖𝗵𝗮𝗻𝗴𝗲𝗱 𝘁𝗵𝗲 𝗚𝗮𝗺𝗲:
1 Finding custom HDRI
Realistic highlights + controlled reflections = no more dull renders.
2 Figuring out Colour & Exposure in Photoshop
Enhances colour accuracy without over-editing.
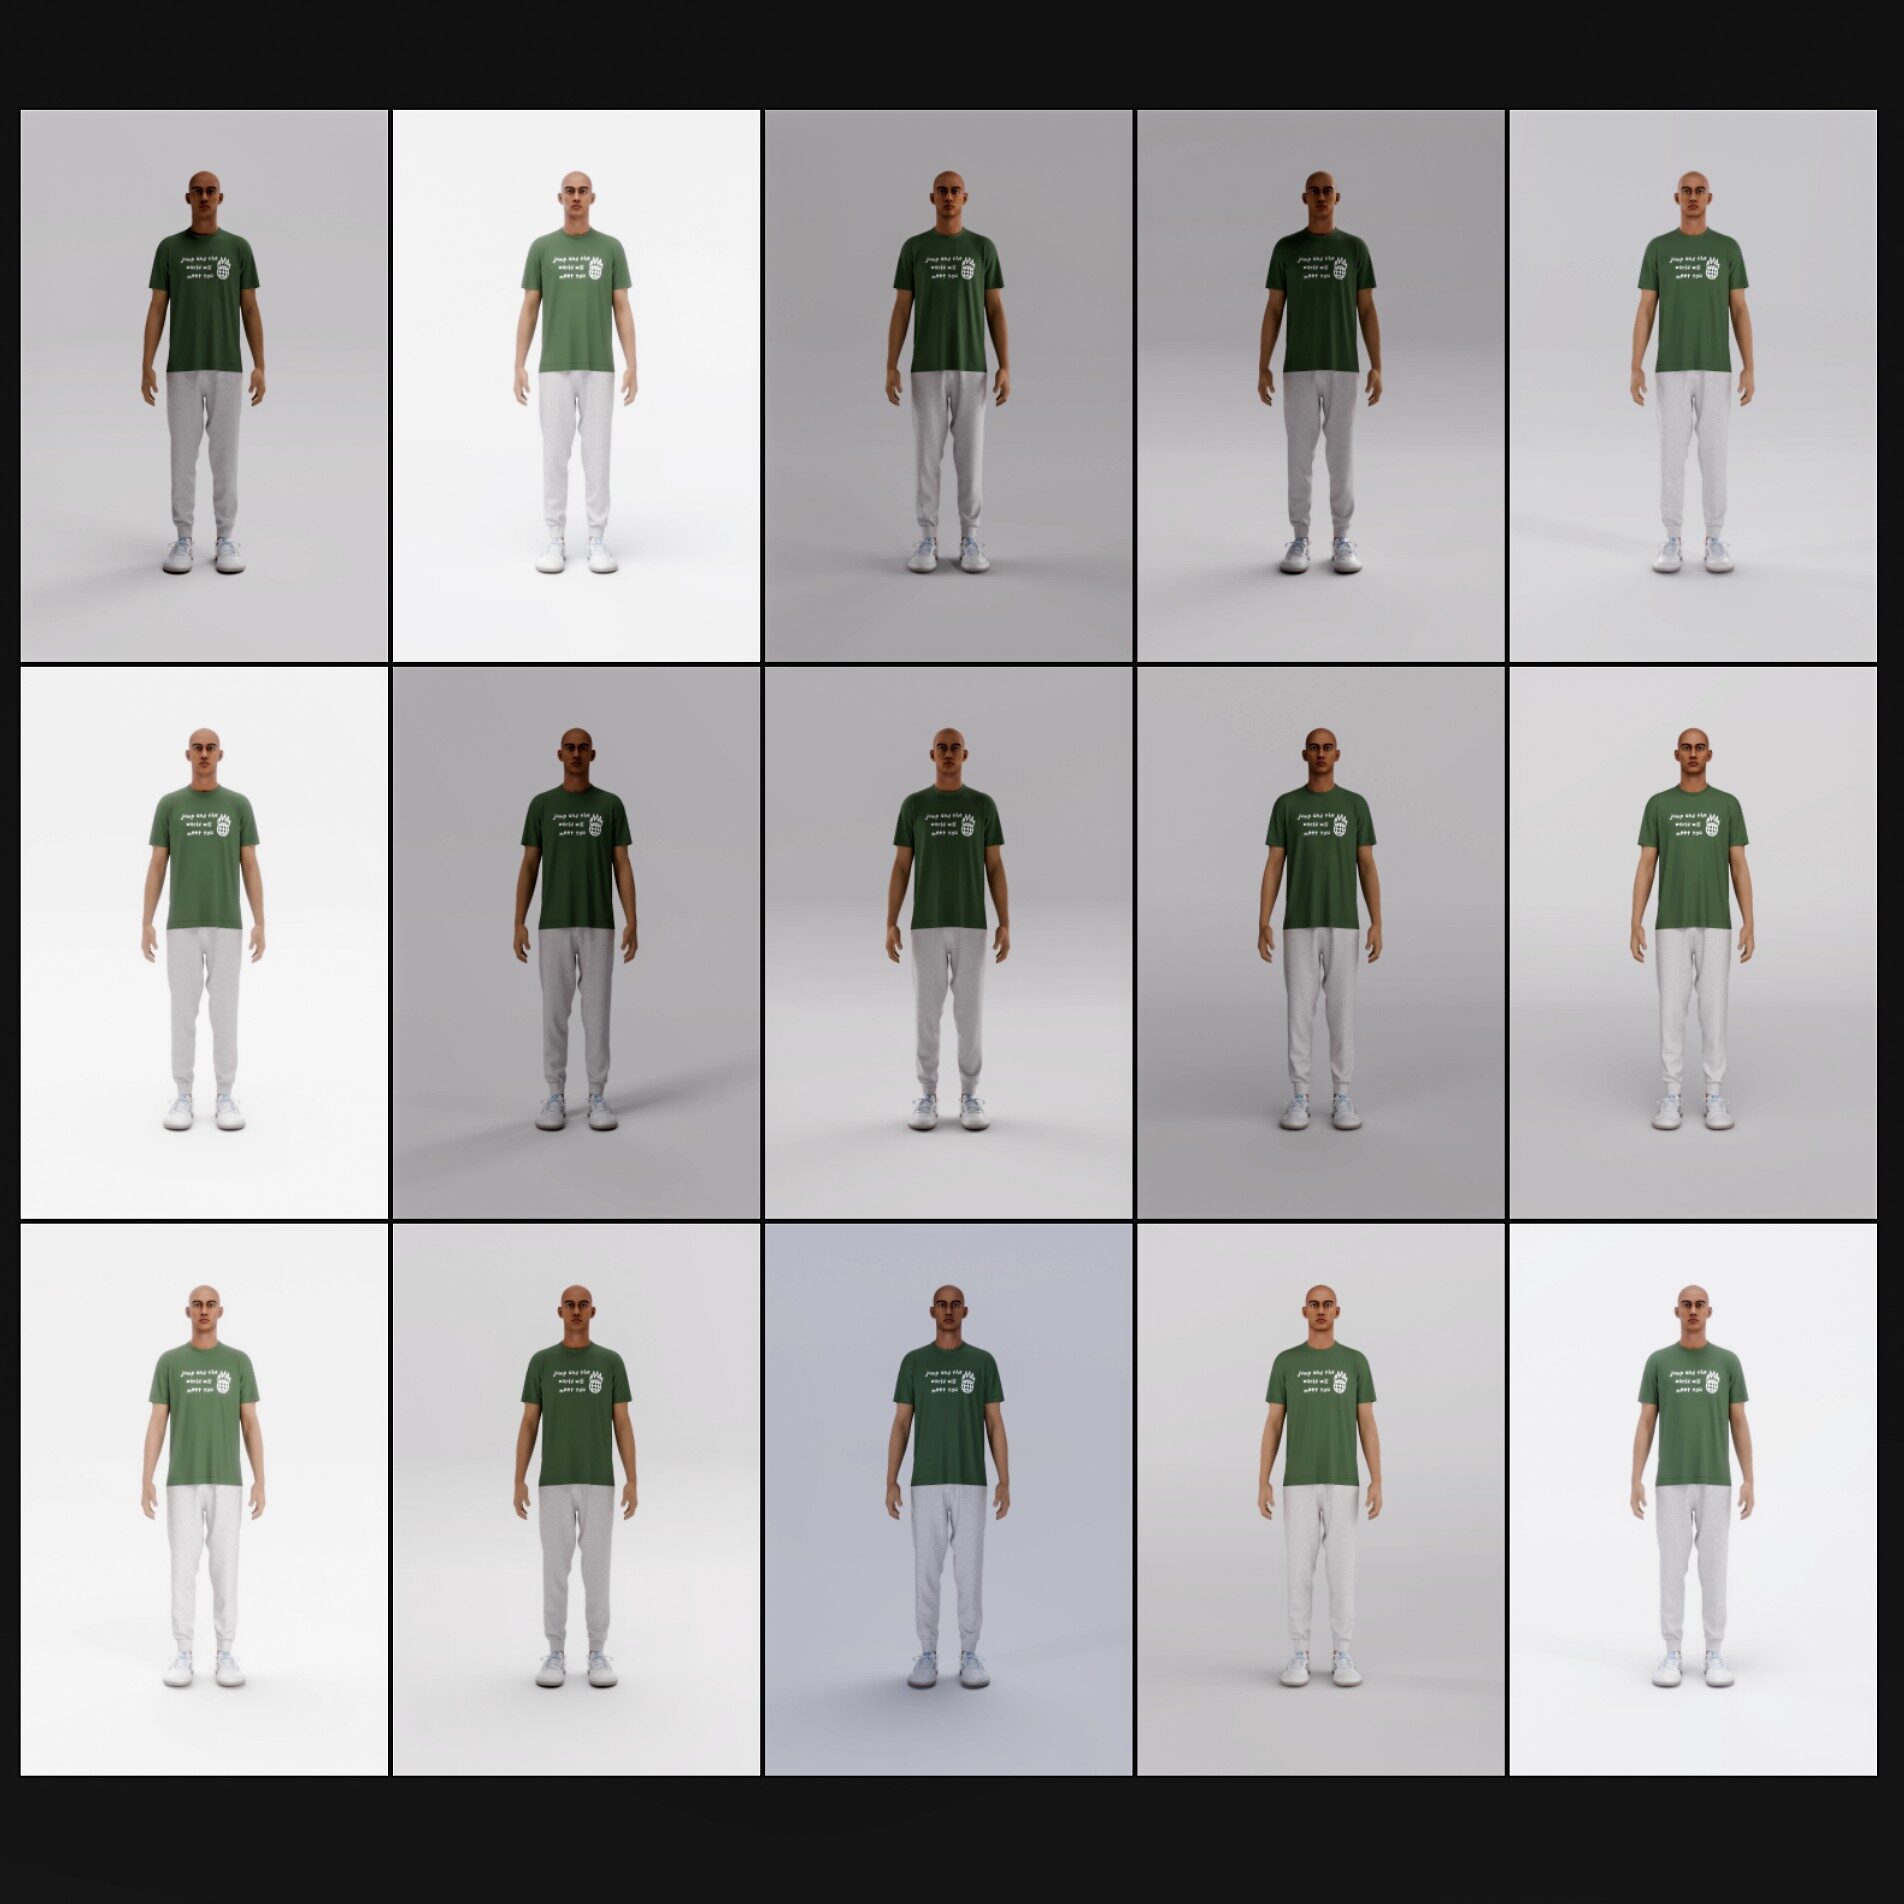
𝗧𝗵𝗲 𝗧𝗮𝗰𝘁𝗶𝗰𝗮𝗹 𝗘𝗹𝗲𝗺𝗲𝗻𝘁:
A structured lighting workflow that makes 3D apparel renders sell in better—set it once, use it everywhere.
𝗬𝗼𝘂𝗿 𝗦𝗵𝗼𝗿𝘁𝗰𝘂𝘁:
Custom Blender lighting setup + Photoshop more colour Accuracy.
𝗪𝗵𝘆 𝗜𝘁 𝗠𝗮𝘁𝘁𝗲𝗿𝘀:
With brands investing more in digital menswear mastering 3D lighting isn’t just a skill—it’s an edge.
Most people focus on software settings, but lighting is what separates amateur.
Still magic to me.
Have you optimized your 3D lighting setup? What’s your biggest challenge?